As an Amazon Associate, I earn from qualifying purchases
A Lazy Susan, that handy rotating turntable we often find on our tables or countertops, serves a practical purpose in providing easy access to items without the need to reach across.
Yet, beyond its functionality, there lies a creative opportunity to turn this everyday item into a personalized masterpiece. In this guide, you will learn how to decorate a lazy susan and also we’ll explore the art of decorating a Lazy Susan, adding a touch of style and uniqueness to an often-overlooked piece of furniture.
Choosing the Right Lazy Susan
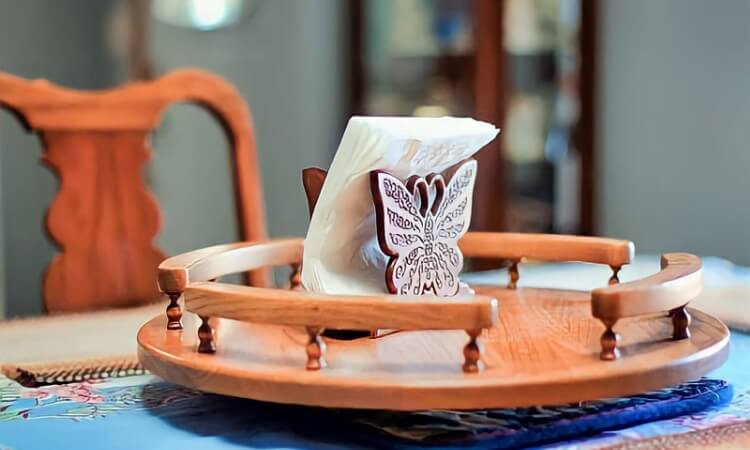
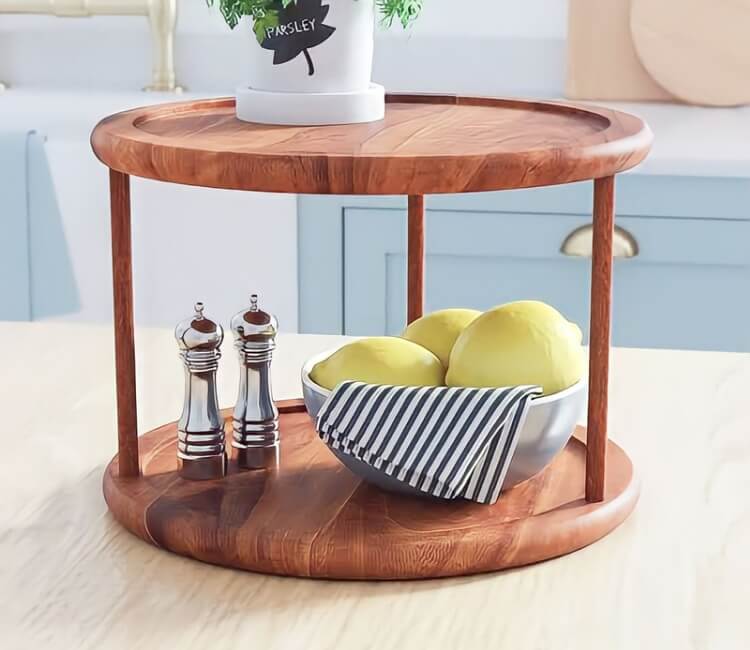
When embarking on the journey of decorating a Lazy Susan, the first step is selecting the right base. Lazy Susans come in various materials, each offering distinct aesthetics and durability. Wooden Lazy Susans exude a classic warmth, while glass and metal lend a modern touch.
Consider the existing decor of your space and personal preferences when choosing the material. Additionally, explore different styles, such as traditional, rustic, or contemporary, to find one that aligns with your design vision.
Considerations for size and functionality are equally important. The size of your Lazy Susan is a crucial factor in its overall functionality and suitability for your intended use.
Functionality is key, so think about how you’ll utilize the Lazy Susan in your daily routine. Whether it’s in the kitchen, dining room, or elsewhere, choosing the right size and functionality ensures that your decorated Lazy Susan seamlessly integrates into your lifestyle. So choosing the right lazy susan is very important to know how to decorate a lazy susan.
Preparing the Surface

Before the creative process begins, ensure a clean canvas. Wipe down the Lazy Susan with a mild, soapy solution to remove any dust, dirt, or grease. Pay close attention to crevices and edges to ensure a smooth surface for your decoration. Allow it to dry it completely before proceeding.
Depending on the material, sanding might be necessary to create a slightly rough texture for better adhesion of paints or decorative elements.
For wooden Lazy Susans, focus on smoothing any rough spots and removing old finishes if applicable. After sanding, consider applying a primer, especially if you’re working with a porous surface or plan to use light colors. Primer enhances paint adherence and ensures a more even finish.
Painting Techniques
Selecting the right paint is pivotal. Choose a paint specifically formulated for the Lazy Susan’s material. Acrylic paints work well for wood, providing vibrant colors and easy application. Enamel or spray paints may be more suitable for glass or metal surfaces. The key is durability, proper adhesion, and color compatibility.
The step-by-step guide to painting involves starting with a base coat, creating a uniform canvas for your design. Once dry, you can introduce additional design elements through stenciling or freehand painting. Consider experimenting with contrasting colors, fine details, or even metallic accents. Allow each layer to dry thoroughly before proceeding to ensure crisp and well-defined patterns.
Decoupage and Collage Ideas
For those who prefer a different approach, decoupage offers a unique and personalized touch. Gather materials such as images, patterns, or fabric and follow a step-by-step guide. Choose and cut images, apply decoupage glue, and seal the finished design for a professional-looking result.
Mod Podge Magic
An introduction to Mod Podge opens up a world of possibilities. Experiment with fabric decoupage, photo transfer techniques, or creating a textured finish. Mod Podge is a versatile tool that adds depth and character to your Lazy Susan decoration.
Incorporating Mosaics
Mosaics provide an intricate and visually stunning option. Explore different mosaic tiles or pieces, apply adhesive, arrange the mosaic, and finish with grouting for a polished look. Mosaics add a touch of elegance and can be tailored to your design preferences.
Sealing and Protecting Your Artwork
After investing time and effort into decoration, sealing becomes crucial. Choose the right sealant for your material to preserve the design and protect it from daily wear and tear.
Maintenance Tips

To ensure the longevity of your decorated Lazy Susan, follow cleaning and maintenance suggestions. Store and handle it carefully to prevent damage and enjoy your personalized piece for years to come.
Conclusion
As we conclude our journey into the world of decorating Lazy Susans, we’ve explored various techniques to transform a functional item into a personalized masterpiece.
Whether you opt for painting, decoupage, Mod Podge magic, or mosaics, the key is to let your creativity shine. Embrace the opportunity to make your Lazy Susan a stylish focal point in your living space.
So, thanks for your precious time now you know how to decorate a lazy susan.
FAQs
How long does it take to decorate a Lazy Susan?
Decorating time varies based on the chosen technique and complexity of the design. Painting might take a few hours, while intricate mosaics could require more time.
Can I use any type of paint for the decoration?
It’s crucial to use paint formulated for the specific material of your Lazy Susan. Acrylics work well for wood, while enamels or spray paints may be suitable for glass or metal.
Is it possible to undo or change the decoration later?
While some techniques are more forgiving than others, it’s generally challenging to undo decorations. Take your time and plan carefully before starting.
What materials are best for mosaic designs?
Ceramic, glass, or porcelain mosaic tiles are popular choices. Choose materials that complement your design and provide the desired visual effect.
How do I fix any mistakes made during the decoration process?
For minor mistakes, consider incorporating them into the design creatively. If the error is significant, you might need to sand or remove the previous decoration before starting anew.
As an Amazon Associate, I earn from qualifying purchases
Leave a Reply